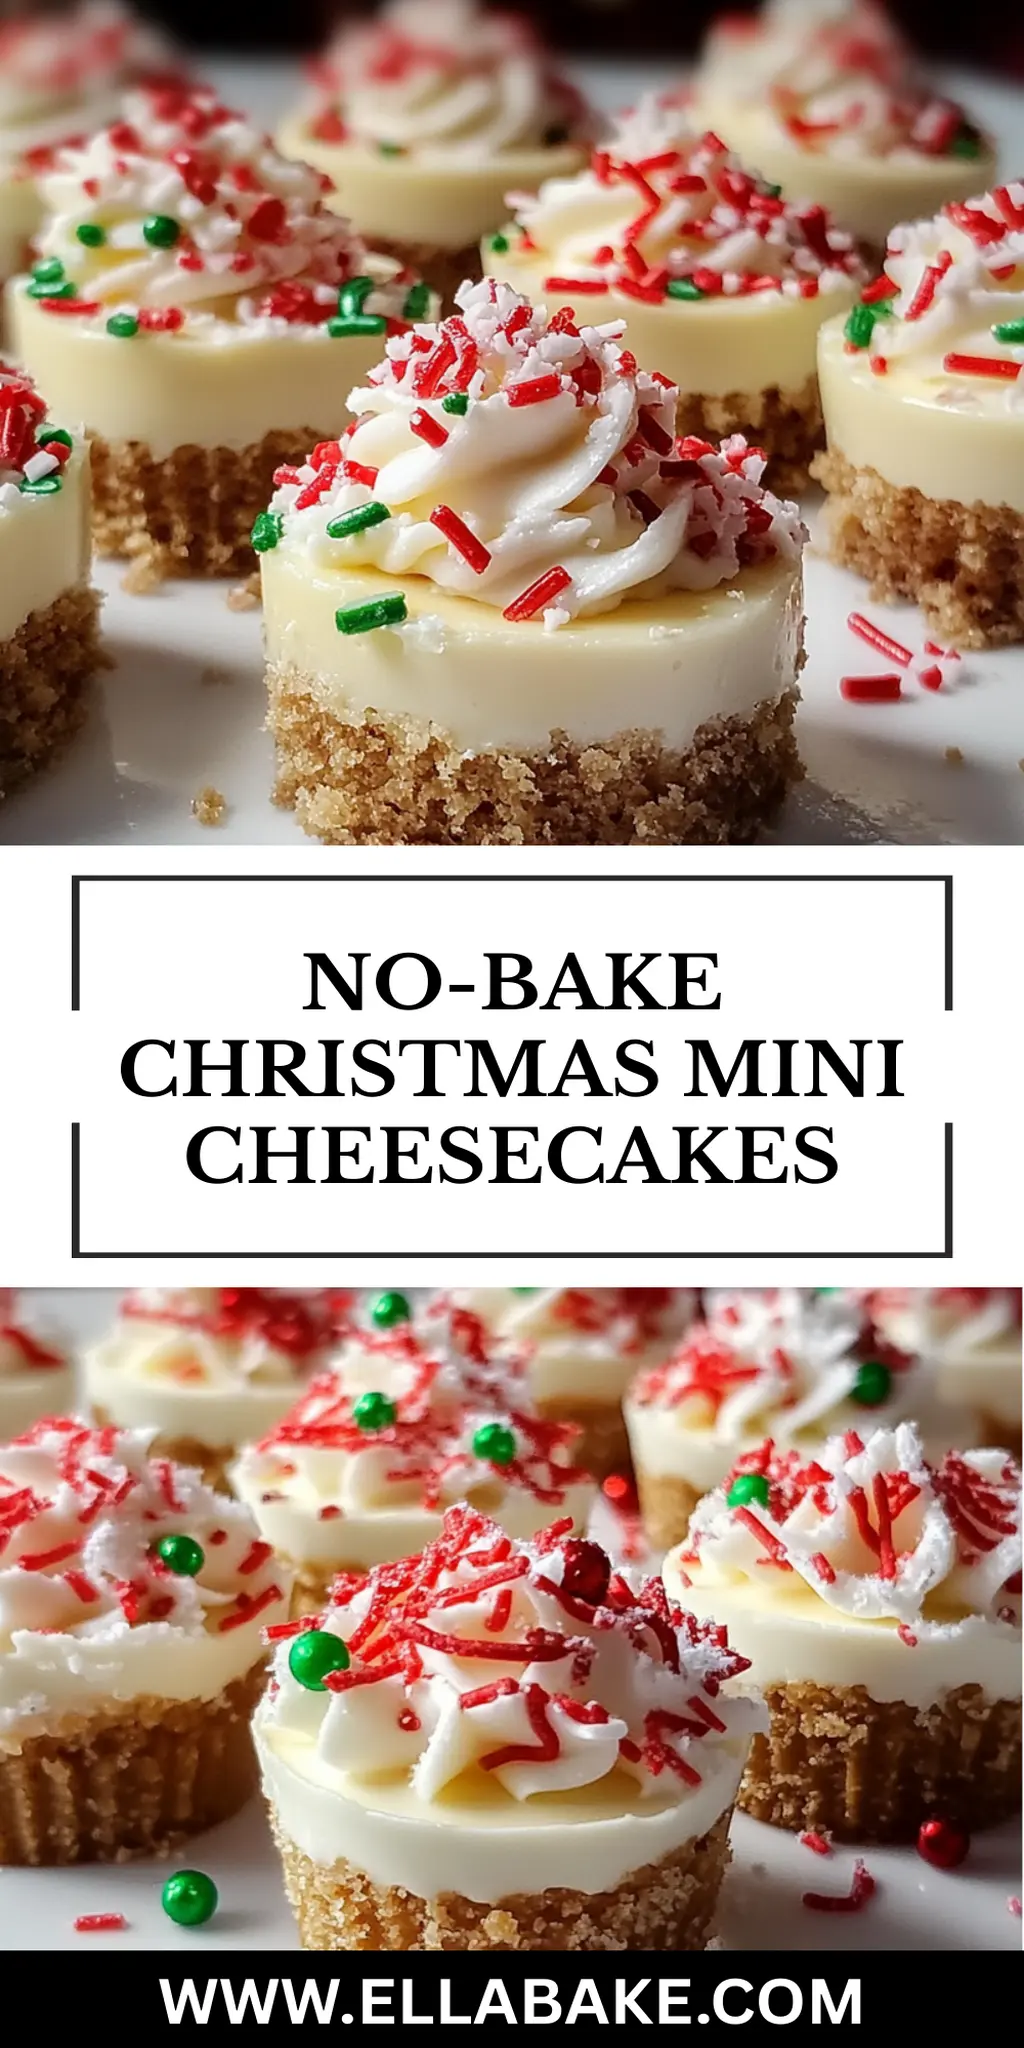
As the holidays approach and the twinkling lights begin to adorn every corner of our homes, I find myself craving festive treats that create cherished memories. One such delight that never fails to impress is these No-Bake Christmas Mini Cheesecakes. Picture the rich, creamy layers topped with vibrant red and green sprinkles, capturing the essence of the season in every bite.

I stumbled upon this recipe during a busy week of holiday preparations, realizing that I had a craving for cheesecake but not the time or patience to bake. The beauty of these mini cheesecakes lies not just in their ease—no oven required!—but also in their versatility. They’re the perfect sweet finish at holiday gatherings or a delightful gift for friends and family.
With a blissfully light filling and a buttery graham cracker crust, these treats are sure to spark joy and satisfy your dessert cravings without overwhelming you with effort. Let’s dive into this simple recipe that’s as delightful to make as it is to share!
Why You'll Love This No-Bake Christmas Mini Cheesecakes
- These mini cheesecakes are incredibly easy to make, requiring no baking and minimal prep time, so you can whip them up in just 30 minutes.
- The creamy filling is perfectly complemented by the buttery graham cracker crust, creating a delicious harmony of flavors that will make your taste buds sing.
- With their festive red and green decorations, these treats are visually appealing and will brighten up any holiday gathering.
- Plus, they are portable and can be served as a delightful dessert or given as a thoughtful gift, making them an ultimate crowd-pleaser this season.
No-Bake Christmas Mini Cheesecakes Ingredients
Get ready to create these delightful treats with simple ingredients.
For the Crust
• Graham cracker crumbs – the base for your cheesecake, offering a lovely crunch.
• Melted butter – helps bind the crumbs and adds richness to the crust.
• Granulated sugar – sweetens the crust and brings out the flavors.
For the Filling
• Cream cheese – the star of the show, providing that signature creamy texture.
• Powdered sugar – adds sweetness to the filling without grittiness.
• Cold heavy cream – whipped to perfect peaks, contributing to a light, airy filling.
• Vanilla extract – infuses a warm, aromatic flavor throughout the cheesecake.
For the Decoration
• Red and green sprinkles – festive touches that add a cheerful appearance.
• Optional: Crushed candy canes – brings a delightful minty flavor for a holiday twist.
These No-Bake Christmas Mini Cheesecakes are not just a treat for your taste buds—they’re a visual feast for the holidays!
How to Make No-Bake Christmas Mini Cheesecakes
-
Combine Ingredients: In a medium bowl, mix the graham cracker crumbs, melted butter, and granulated sugar until they resemble wet sand. This mixture creates a delicious foundation for your cheesecake.
-
Form the Crust: Press the crumb mixture firmly into the bottoms of mini cheesecake liners or a mini muffin tin. Make sure it’s evenly packed, then chill in the refrigerator for 15 minutes to set the crust.
-
Beat Cream Cheese: In a large mixing bowl, beat the softened cream cheese until it is smooth and creamy. This will ensure a rich, velvety filling that every cheesecake lover dreams of.
-
Add Powdered Sugar: Gradually add the powdered sugar to the cream cheese, mixing until fully combined. This step enhances the sweetness of your filling, making it irresistibly delicious.
-
Whip the Cream: In a separate chilled bowl, whip the cold heavy cream with vanilla extract until stiff peaks form. This adds lightness and volume to your cheesecake filling, creating that fluffy texture.
-
Fold Together: Gently fold the whipped cream into the cream cheese mixture until well combined. Be careful not to deflate the whipped cream; you want a smooth and airy filling.
-
Fill the Cups: Spoon or pipe the cheesecake filling onto the chilled crusts, smoothing the tops for a beautiful finish. Take your time to get them just right; presentation matters!
-
Chill to Set: Refrigerate the mini cheesecakes for at least 3 hours, or until set. The longer they chill, the more the flavors meld together beautifully.
-
Decorate: Before serving, decorate with vibrant red and green sprinkles and if you like, sprinkle crushed candy canes on top for an extra festive flair.
Optional: Drizzle with chocolate sauce for an extra indulgent touch.
Exact quantities are listed in the recipe card below.
What to Serve with No-Bake Christmas Mini Cheesecakes?
Creating a festive holiday feast is all about joyful pairings that celebrate the spirit of the season.
-
Festive Fruit Salad: A refreshing blend of seasonal fruits helps balance the richness of the mini cheesecakes while adding a burst of color to your table.
-
Spiced Hot Chocolate: Indulge in a warm, creamy beverage filled with notes of cinnamon and nutmeg. It’s the perfect cozy complement to chilled desserts.
-
Gingerbread Cookies: The spiced, dense flavor of gingerbread pairs beautifully with the creamy sweetness of the cheesecakes, creating a classic holiday duo.
-
Peppermint Bark: This deliciously crunchy treat adds a festive twist and a hint of mint that beautifully contrasts the creamy filling of your mini cheesecakes.
-
Nutty Biscotti: Crunchy and slightly sweet, biscotti is perfect for dipping in coffee or tea, making a delightful pairing with your holiday cheesecakes.
-
Sparkling Cider: Effervescent and crisp, this alcohol-free drink adds a festive flair and enhances the sweetness of the cheesecakes, making each bite feel special.
-
Chocolate-Dipped Strawberries: Decadent yet fruity, these strawberries enhance your dessert table and add a touch of romance to your holiday spread.
-
Coconut Macaroons: Chewy and sweet, these treats are a delightful addition, echoing the creamy texture of the cheesecakes while adding a tropical twist.
-
Eggnog: Rich and creamy eggnog offers a comforting holiday flavor, making it a classic beverage to accompany your festive mini cheesecakes.
Make Ahead Options
These No-Bake Christmas Mini Cheesecakes are perfect for busy holiday preparations! You can prepare the crust up to 24 hours in advance, keeping the formed crusts tightly covered in the refrigerator to maintain their crispness. Additionally, you can make the cheesecake filling up to 3 days ahead—simply fold the whipped cream into the cream cheese mixture as per the recipe and store it in an airtight container. When you’re ready to enjoy, spoon or pipe the filling into the prepped crusts, and refrigerate for at least 3 hours (or overnight) for optimal set. Just before serving, add the festive sprinkles and crushed candy canes for a bright and cheery finish! This way, you’ll have delicious, hassle-free treats waiting for you and your guests at your upcoming holiday gathering.
No-Bake Christmas Mini Cheesecake Variations
Feel free to explore these creative twists to make these cheesecakes uniquely yours!
-
Chocolate Drizzle: Melt some chocolate and drizzle over the top for an indulgent touch. The rich flavor creates a delightful contrast with the creamy filling.
-
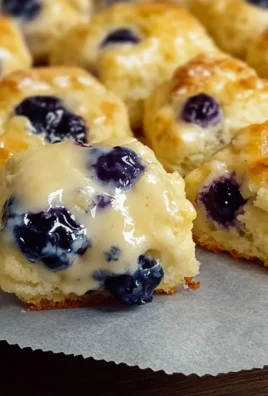
Berry Bliss: Top your cheesecakes with fresh berries like strawberries or blueberries for a burst of natural sweetness. The tartness of the fruit beautifully balances the richness of the cheesecake.
-
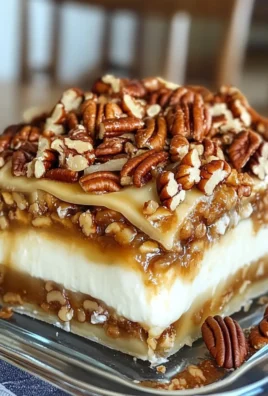
Nutty Crunch: Add chopped nuts such as pecans or walnuts to your crust for an extra crunch. This will bring a delightful texture that complements the smooth filling perfectly.
-
Coconut Cream: Substitute part of the heavy cream with coconut cream for a tropical twist. It adds an exotic flavor that transports you to a sunny getaway with every bite.
-
Peppermint Twist: Incorporate peppermint extract into the filling for an exhilarating flavor boost. The minty freshness will have your guests feeling festive and merry!
-
Pumpkin Spice: Fold in some pumpkin puree and spices like cinnamon and nutmeg to embrace a holiday classic. This seasonal twist will fill your home with warm, cozy aromas.
-
Lemon Zest: Add lemon zest to the filling for a refreshing citrusy note. The zest brings brightness and a lovely tang to the creamy texture, making every bite feel light.
-
Coffee Kick: Mix in some instant coffee granules to the cream cheese mixture for a mocha-inspired treat. This variation is perfect for coffee lovers seeking a little caffeine in their dessert.
How to Store and Freeze No-Bake Christmas Mini Cheesecakes
Fridge: Store the mini cheesecakes in an airtight container in the refrigerator for up to 5 days. This keeps them fresh and ready for holiday snacking!
Freezer: If you want to prepare ahead, these cheesecakes can be frozen for up to 2 months. Wrap each cheesecake tightly in plastic wrap and then place them in a freezer-safe bag.
Thawing: To enjoy, simply transfer the desired number of mini cheesecakes to the fridge and allow them to thaw overnight. This keeps the texture perfect!
Reheating: No need to heat these no-bake cheesecakes; they are best served chilled. Simply garnish with more sprinkles before serving for that festive touch!
Chef's Helpful Tips
- When making No-Bake Christmas Mini Cheesecakes, ensure your cream cheese is adequately softened to avoid lumps in your filling.
- A common mistake is overfolding the whipped cream, which can deflate it; fold gently until just combined for a light texture.
- For the crust, pressing the crumb mixture firmly will help it hold together better when served.
- Chill the cheesecakes for the full 3 hours to allow them to set completely for the best consistency and flavor.
No-Bake Christmas Mini Cheesecakes Recipe FAQs
What type of cream cheese should I use for the filling?
Absolutely! For the best results, use full-fat cream cheese that is softened to room temperature. This helps create a smooth and creamy texture for your filling, ensuring that the cheesecakes are rich and velvety.
How should I store the mini cheesecakes?
You can store these delightful no-bake Christmas mini cheesecakes in an airtight container in the refrigerator for up to 5 days. Just make sure they’re covered well to keep them fresh and protect those festive sprinkles!
Can I freeze No-Bake Christmas Mini Cheesecakes?
Yes, you can! To freeze, wrap each cheesecake tightly in plastic wrap and place them in a freezer-safe bag. They can be frozen for up to 2 months. Whenever you’re ready to indulge, just transfer them to the fridge to thaw overnight for the best texture.
What common issues should I watch for while making these?
One common issue is lumps in the cream cheese filling. To avoid this, ensure that your cream cheese is fully softened before mixing. Additionally, be careful not to overfold the whipped cream into the mixture; you want to maintain that fluffy texture, so gently mix until combined.
Can these cheesecakes be made gluten-free?
Definitely! To make gluten-free no-bake Christmas mini cheesecakes, substitute the graham cracker crumbs with gluten-free graham crackers or crushed nuts. Just verify that all your other ingredients, like the cream cheese and whipped cream, are gluten-free as well.
Are these suitable for pets or people with allergies?
Be cautious! Since this recipe contains dairy (cream cheese and heavy cream), it isn’t suitable for lactose-intolerant individuals or pets. Additionally, always check for allergies to specific ingredients, such as those who may be allergic to dairy or gluten if you aren’t using substitutions.
No-bake Christmas Mini Cheesecakes
Ingredients
Equipment
Method
- In a medium bowl, mix the graham cracker crumbs, melted butter, and granulated sugar until they resemble wet sand.
- Press the crumb mixture firmly into the bottoms of mini cheesecake liners or a mini muffin tin and chill in the refrigerator for 15 minutes.
- In a large mixing bowl, beat the softened cream cheese until smooth and creamy.
- Gradually add the powdered sugar to the cream cheese, mixing until fully combined.
- In a separate chilled bowl, whip the cold heavy cream with vanilla extract until stiff peaks form.
- Gently fold the whipped cream into the cream cheese mixture until well combined.
- Spoon or pipe the cheesecake filling onto the chilled crusts, smoothing the tops for a beautiful finish.
- Refrigerate the mini cheesecakes for at least 3 hours, or until set.
- Before serving, decorate with red and green sprinkles and optional crushed candy canes.

Leave a Comment