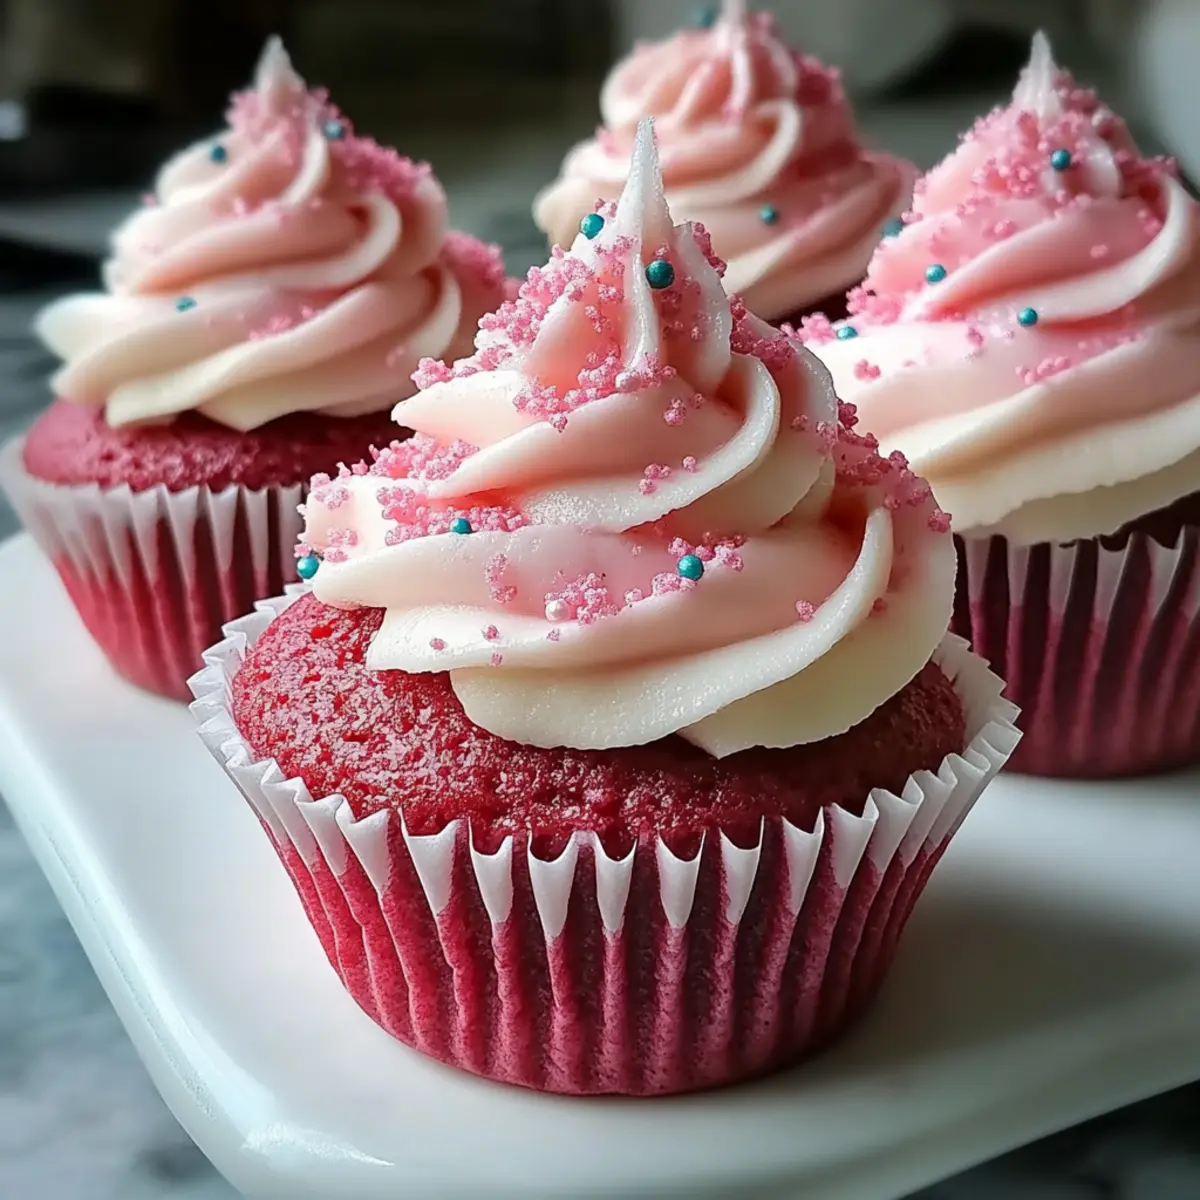
There’s a certain joy that fills the kitchen when I think about surprising my friends with a batch of Pink Velvet Cupcakes. The moment the oven door swings open, and I catch a whiff of that sweet, buttery goodness, it’s like my taste buds start dancing in anticipation. The delicate blush of these cupcakes, topped with velvety vanilla buttercream, seems to promise something special.
I first discovered this delightful recipe while perusing a vintage cookbook that belonged to my grandmother, and it has become a cherished favorite ever since. Not only do they turn any gathering into a celebration with their eye-catching hue and fluffy texture, but they also provide the perfect antidote to the mundane world of fast food. With simple ingredients you likely already have in your pantry, these cupcakes are an easy, delicious way to spread some joy, whether it’s a birthday party, an afternoon tea, or even just a treat for yourself after a long day. Let’s dive into how you can whip up this scrumptious delight that’s sure to leave everyone asking for seconds!
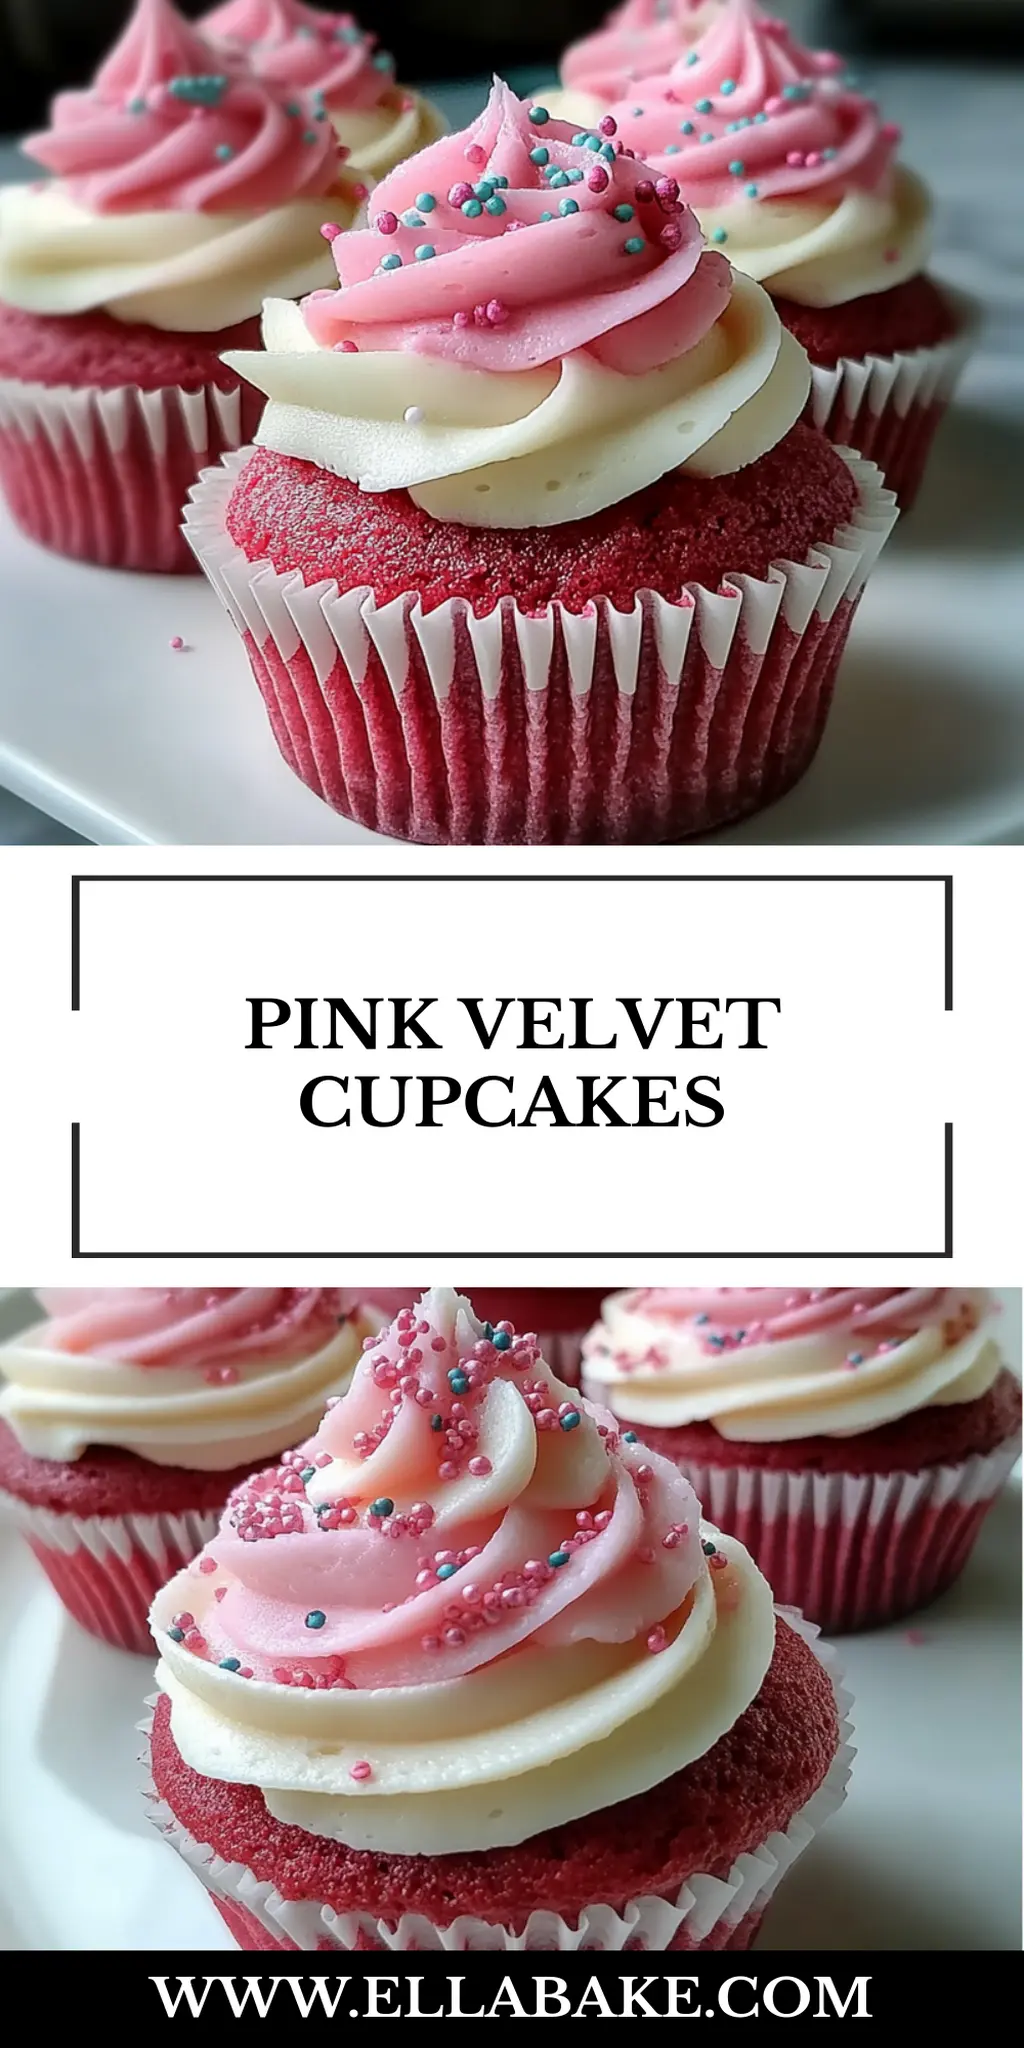
Why You'll Love This Pink Velvet Cupcakes
- These Pink Velvet Cupcakes are incredibly easy to make, ensuring that even novice bakers can impress their friends and family.
- The flavor combination of rich butter and sweet vanilla creates a delightful taste experience that is simply irresistible.
- Versatile enough for any occasion, these cupcakes can be dressed up with sprinkles for a party or enjoyed plain for a cozy treat at home.
- Their vibrant pink hue and beautifully frosted tops make them a visually stunning addition to any dessert table.
Pink Velvet Cupcake Ingredients
Let’s gather everything you’ll need to create these delightful Pink Velvet Cupcakes!
For the Cupcakes
- 1¼ cups cake flour – You can substitute with all-purpose flour sifted with 2 tablespoons cornstarch for a lighter texture.
- ½ teaspoon baking powder – This will help your cupcakes rise beautifully.
- ½ teaspoon baking soda – Essential for a perfectly soft and tender crumb.
- ¼ teaspoon salt – Enhances the overall flavor balance of your cupcakes.
- 4 tablespoons unsalted butter – Make sure it’s at room temperature for easy creaming.
- ½ cup granulated sugar – Sweetness is key, and this adds the perfect touch!
- 1 large egg – At room temperature to ensure even mixing and fluffiness.
- ⅔ cup buttermilk – Adds moisture and a delicious tanginess.
- 1 teaspoon pure vanilla extract – The secret to hosting a warm, inviting flavor.
- 1 teaspoon white vinegar – Reacts with baking soda to create a light texture.
- ½ teaspoon pink gel food coloring – Adjust as desired for that perfect blush!
For the Frosting
- ½ cup unsalted butter – Room temperature for smooth mixing and spreading.
- 2 to 2½ cups powdered sugar – Sifted for a lump-free, airy frosting.
- 1 teaspoon pure vanilla extract – A must-have for extra flavor in your frosting.
- 2 tablespoons heavy cream or whole milk – Adjust for your desired frosting consistency.
- Pinch of salt – Balances the sweetness of the frosting.
- Optional: drop of pink food coloring – To make your frosting even more festive!
Now you’re all set to begin the sweet adventure of making Pink Velvet Cupcakes that will be the talk of the town!
How to Make Pink Velvet Cupcakes
-
Preheat your oven to 350°F. Start by lining a standard 12-cup muffin tin with paper liners so your cupcakes don’t stick and come out perfectly shaped.
-
Sift together cake flour, baking powder, baking soda, and salt in a medium bowl. Whisk these dry ingredients to combine and set them aside for later use.
-
Beat the butter in a large mixing bowl or stand mixer on medium speed for about 1 minute until it’s smooth. Gradually add granulated sugar and continue beating for an additional 2–3 minutes until the mixture is light and fluffy.
-
Incorporate the egg. Lightly beat it in a small bowl first. Then, with the mixer on low speed, slowly add the egg into the butter mixture until fully blended. Don’t forget to blend in the vanilla extract!
-
Mix the dry ingredients into the butter mixture in stages. Begin by adding one-third of the dry mix and combining just until mixed. Follow this with half of the buttermilk, then another third of the dry ingredients, the remaining buttermilk, and finish with the final third of the dry ingredients. Remember to scrape down the bowl as needed, but avoid overmixing.
-
Tint the batter by stirring together white vinegar and pink gel food coloring in a small cup. With the mixer on low, pour this mixture into the batter and stir until you achieve an even tint throughout.
-
Divide the batter among the 12 muffin liners, filling each about two-thirds full. Gently tap the pan to release any air bubbles that may have formed.
-
Bake the cupcakes in your preheated oven for 18–22 minutes. Check for doneness by inserting a toothpick into the center; it should come out clean or with a few moist crumbs.
-
Cool the cupcakes in the pan for 5 minutes, then carefully transfer them to a wire rack. Allow them to cool completely before adding the frosting.
-
Prepare the buttercream frosting in a clean bowl or stand mixer. Beat the room-temperature butter on medium speed until creamy, about 1 minute. Gradually add 2 cups of powdered sugar on low, then increase to medium speed and mix until smooth for about 2 minutes. Add vanilla, cream, and salt, then beat on medium-high for 1–2 minutes until light and fluffy. Adjust the consistency with more sugar or cream if needed, and add a drop of pink food coloring if desired.
-
Frost each cooled cupcake by transferring the buttercream into a piping bag fitted with your preferred tip or use a small offset spatula. Decorate with sprinkles, edible pearls, or pink sanding sugar to make them extra special!
Optional: Top with edible pearls for an elegant touch.
Exact quantities are listed in the recipe card below.
How to Store and Freeze Pink Velvet Cupcakes
Room Temperature: Store unfrosted cupcakes in an airtight container at room temperature for up to 2 days. This keeps them moist and fluffy, ready for that sweet frosting!
Fridge: If you’ve already frosted your Pink Velvet Cupcakes, place them in an airtight container in the fridge. They’ll stay fresh for up to 5 days, but they taste best when brought to room temperature before serving.
Freezer: For long-term storage, freeze unfrosted cupcakes in an airtight container or wrapped tightly in plastic wrap for up to 3 months. Thaw before frosting or enjoy them as is!
Reheating: If you prefer your cupcakes warm, microwave them for about 10-15 seconds. This brings back that fresh-baked flavor, making every bite a delightful experience.
Pink Velvet Cupcakes Variations
Feel free to let your creativity shine and customize these Pink Velvet Cupcakes to match your taste or dietary needs!
-
Gluten-Free: Substitute the cake flour with a gluten-free all-purpose blend for a deliciously inclusive treat that’s suitable for everyone.
-
Less Sweet: Use half the amount of powdered sugar in the frosting for a more subtle sweetness that allows the vanilla flavor to shine.
-
Vegan: Replace the butter with coconut oil, the egg with a flaxseed egg, and use almond milk plus a bit of apple cider vinegar instead of buttermilk for a vegan-friendly version.
-
Chocolate Twist: Add ¼ cup of unsweetened cocoa powder to the dry ingredients for a delightful chocolatey pink velvet variation that will intrigue any chocoholic!
-
Berries Burst: Mix in ½ cup of fresh raspberries or diced strawberries to the batter for a fruity surprise in every bite, adding a burst of natural sweetness.
-
Citrus Zest: Grate in some lemon or orange zest to the batter for a zesty pop that adds a refreshing brightness to the cupcakes.
-
Spiced Up: Combine 1 teaspoon of cinnamon or a pinch of nutmeg with the dry ingredients for a warm spice twist that will remind you of cozy fall days.
-
Nutty Crunch: Fold in ½ cup of finely chopped walnuts or pecans into the batter for an added crunch and rich, nutty flavor that enhances the overall texture.
What to Serve with Pink Velvet Cupcakes?
These delightful treats are perfect for brightening up any gathering and making hearts flutter with joy.
-
Creamy Vanilla Ice Cream: The cool, creamy texture perfectly complements the soft cupcake, balancing the sweet vanilla buttercream.
-
Fresh Berries: Strawberries or raspberries add a burst of tartness that contrasts beautifully with the sweetness of the cupcakes. Plus, they add a pop of color!
-
Chocolate Ganache Drizzle: For an extra indulgence, a rich chocolate drizzle can elevate the flavor while providing a lovely visual contrast to the pink frosting.
-
Sparkling Lemonade: The zesty, bubbly refreshment pairs wonderfully with the fluffy sweetness, creating a delightful twist for a summer gathering.
-
Coffee or Espresso: A warm cup delivers a rich, bold flavor that enhances dessert experience, making each bite even more enjoyable.
-
Homemade Fruit Salad: A light and fruity option can brighten the meal, offering refreshing flavors that harmonize with cupcakes. Add a splash of lime juice for zing!
-
Meringue Cookies: Their crispy texture and delicate sweetness bring a whimsical charm to the dessert table, making it more inviting.
-
Whipped Cream Topping: A dollop on the side adds a luxurious creaminess that complements the rich vanilla flavor perfectly, making every bite a delight.
Make Ahead Options
These Pink Velvet Cupcakes are perfect for meal prep enthusiasts looking to save time during busy weeks! You can bake the cupcakes up to 24 hours in advance; simply let them cool completely and store them in an airtight container at room temperature. For the frosting, prepare it up to 3 days ahead. Just place it in an airtight container and refrigerate until you’re ready to frost—be sure to let it come to room temperature and give it a quick whip to restore its creamy texture. When you’re ready to serve, frost the cupcakes and add any desired decorations right before enjoying these delightful treats, ensuring they remain just as delicious as when they were freshly made!
Chef's Helpful Tips
- When making Pink Velvet Cupcakes, be sure to use room temperature ingredients; this helps create a smoother batter and a fluffier texture.
- Avoid overmixing the batter after adding the dry ingredients to ensure your cupcakes stay light and tender.
- For a brighter pink color, opt for gel food coloring instead of liquid to achieve that perfect hue without altering the batter’s consistency.
- Remember to check for doneness by inserting a toothpick in the center, and if it comes out with a few moist crumbs, your cupcakes are ready to come out of the oven.
Pink Velvet Cupcakes Recipe FAQs
How do I choose the right cake flour for Pink Velvet Cupcakes?
Absolutely! When selecting cake flour, look for a brand that specifies “soft wheat” on the label. This type has a lower protein content, which will give your cupcakes that soft, tender texture we all love. If you don’t have cake flour on hand, you can easily make a substitute by sifting 1 cup of all-purpose flour with 2 tablespoons of cornstarch to achieve a lighter crumb.
How should I store my Pink Velvet Cupcakes?
For unfrosted cupcakes, store them in an airtight container at room temperature for up to 2 days. Keep that delightful moisture and fluffiness intact! If you’ve already frosted your cupcakes, pop them in the fridge to extend their freshness, where they’ll last up to 5 days. Just remember, for the best flavor, let them come to room temperature before enjoying.
Can I freeze Pink Velvet Cupcakes?
Absolutely! To freeze, place your unfrosted cupcakes in an airtight container or wrap them individually in plastic wrap. They’ll stay fresh for up to 3 months. When you’re ready to indulge, simply thaw them at room temperature, or pop them in the microwave for about 10-15 seconds to restore that lovely warmth. This way, you can enjoy the taste of fresh cupcakes any time you wish!
What can I do if my cupcakes are too dense?
Very! If you find your Pink Velvet Cupcakes are denser than expected, this likely stems from overmixing your batter or incorrect measuring of flour. Ensure you’re spooning the flour into your measuring cup and leveling it off—don’t scoop! Be gentle when combining your dry ingredients with wet—mix until just combined for the best results.
Are there any dietary considerations for Pink Velvet Cupcakes?
Yes, it’s important to be mindful! For those with gluten sensitivities, you can try using a gluten-free all-purpose flour blend in place of regular flour. If making these for someone with dairy allergies, consider using dairy-free butter and almond milk instead of buttermilk. Always check the food coloring for allergens, especially if serving to children or those with sensitivities!
How can I adjust the sweetness of the frosting?
The more the merrier! If you find your vanilla buttercream frosting is too sweet for your taste, you can add a pinch of salt to temper the sweetness. Another trick is to balance it with a bit of additional cream for a smooth texture or a bit more vanilla extract for depth of flavor. Feel free to taste as you go until you reach the perfect balance!
Pink Velvet Cupcakes
Ingredients
Equipment
Method
- Preheat your oven to 350°F and line a 12-cup muffin tin with paper liners.
- Sift together cake flour, baking powder, baking soda, and salt in a medium bowl.
- Beat the butter on medium speed for 1 minute until smooth, then gradually add sugar and beat for 2-3 minutes.
- Add the lightly beaten egg into the butter mixture, blending in the vanilla extract.
- Mix the dry ingredients into the butter mixture in stages, starting with a third of the dry mix.
- Stir white vinegar and pink gel food coloring in a small cup, then tint the batter.
- Divide the batter among the muffin liners, filling each about two-thirds full.
- Bake the cupcakes for 18-22 minutes, checking for doneness with a toothpick.
- Cool the cupcakes in the pan for 5 minutes, then transfer them to a wire rack.
- Prepare the buttercream frosting by beating the room-temperature butter until creamy.
- Gradually add powdered sugar and mix until smooth, about 2 minutes.
- Add vanilla, cream, and salt, and beat until fluffy. Adjust consistency as needed.
- Frost each cooled cupcake using a piping bag or spatula, optionally decorating with sprinkles.

Leave a Comment